Less is more (more or less)
Kasia
There is only one way to keep up with our projects - subscribe to our @Youtube.


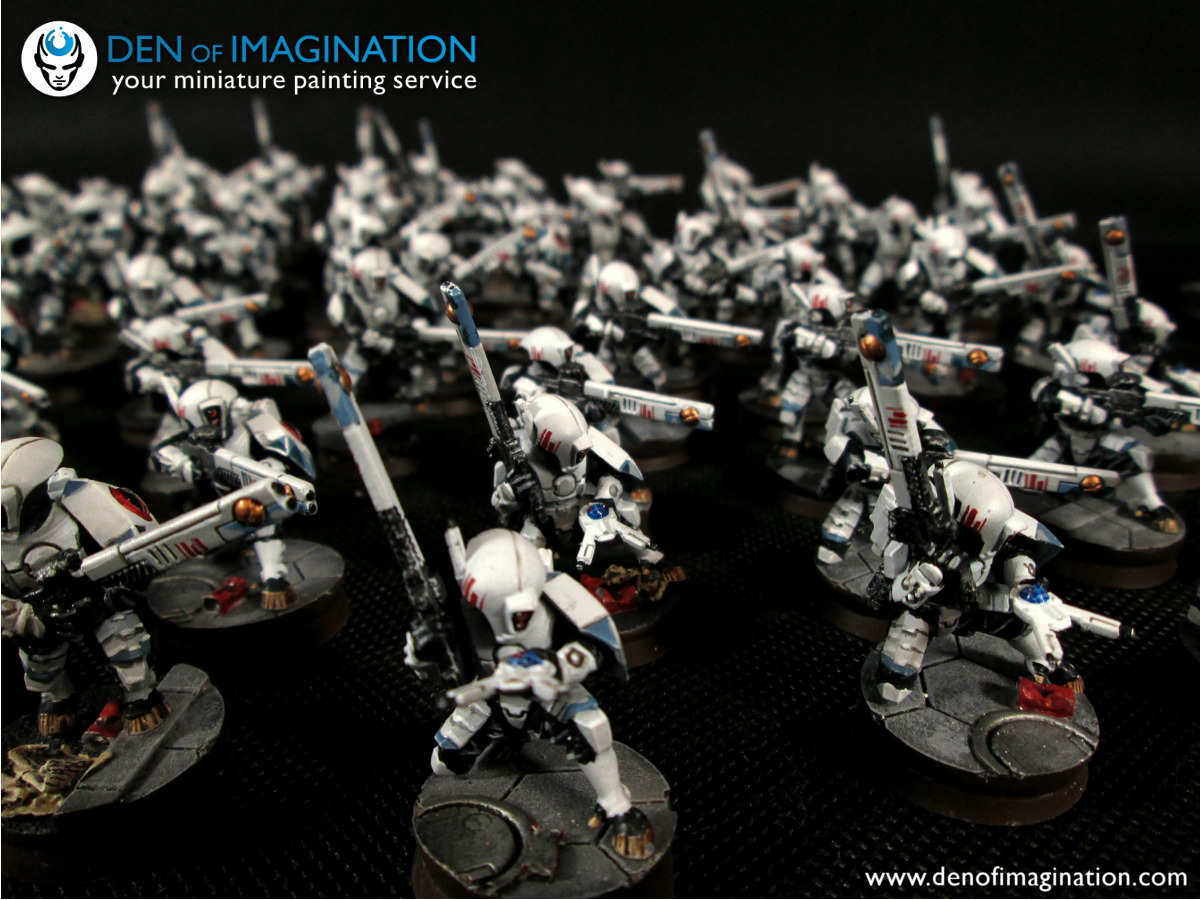
Den of Imagination offers a variety of services including single display miniature pieces as well as an army painting service.

GIGANTIC BLOOD ANGELS ARMY WITH EPIC FREEHANDS!

From our painting service - our level 6 (Legendary) Bio Titan! Paulina did wonderful job...

Now this is something special fresh and new. Fist your eye on The Walking Temple.

Make it glow. oh yeah take a look at this eye candy.



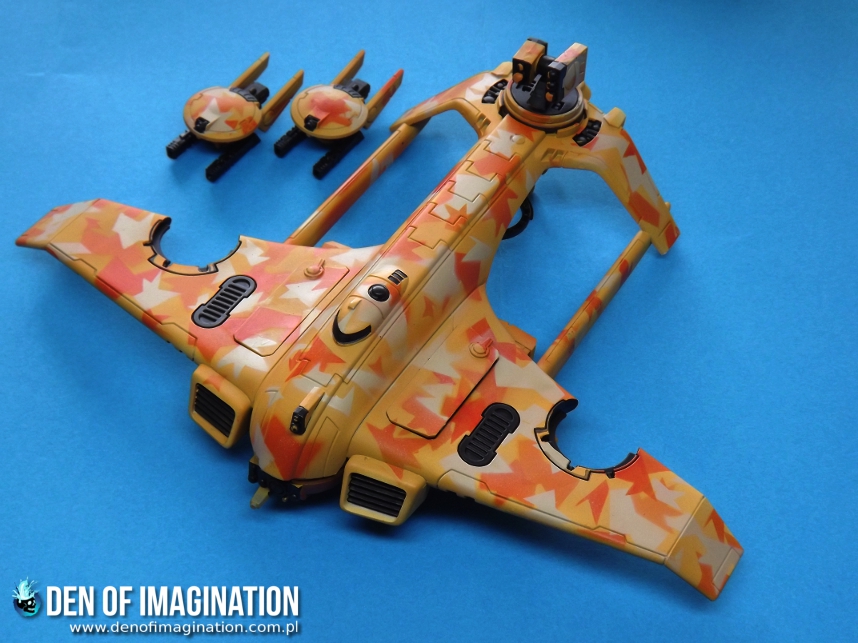 After we have the camo done its time for details. I started this by painting the exhausts, pipes, rockets, guns etc. with Abaddon Black.
 When all that needed to be black was painted, it was time for some balance in the world. So I added some white. The parts painted with white were the drone holders on the wings.
 At this step it was time to do some contouring and lining. I washed all the grooves with Agrax Earth Shade. Also by using Russ Grey I lined all the black parts.
 I finished the model with lining the bright parts with Ushabi Bone and the black parts Space Wolves Grey. After that I painted the lenses red and the model was done.
 The first step was to paint the model with Skull white primer.
 The second step was to prepare the stencils. I took a sheet of plasticard and cut irregular shapes to do the camo. The plasticard was 1 mm thick. The thiner plasticard you have the better, because you will need to place it flat on curved surfaces of the plane.
 I took out the airbrush and off we went.
 The first set of shapes was made with Vallejo air range Orange. At this step I tried to cover more then 40% of the planes surface.